
To see what I am talking about I thought I would share some examples of results I got.
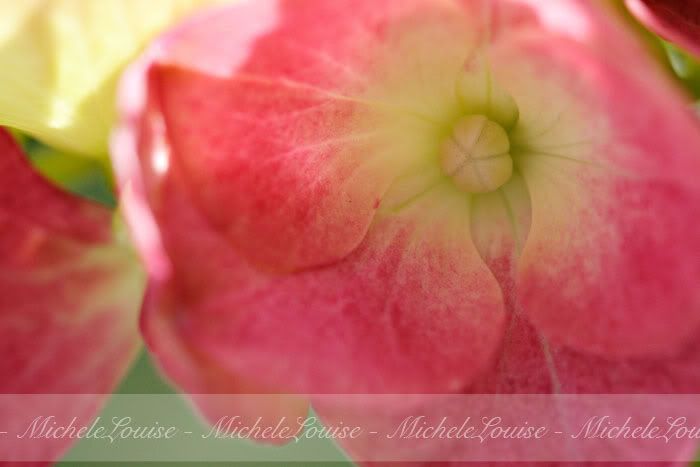
Lets start with the original image:

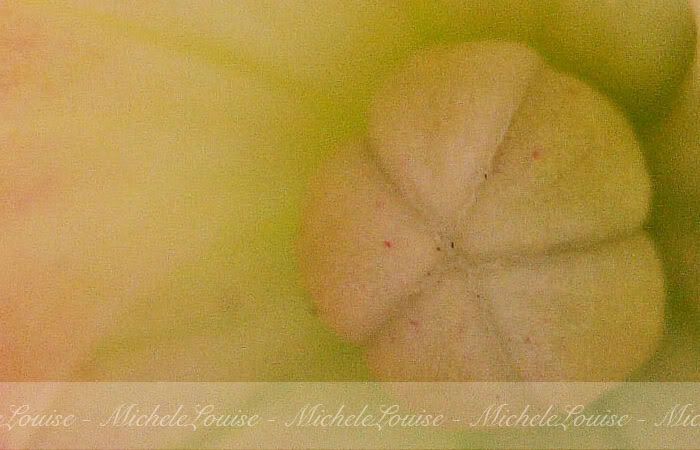
and a 100% crop of the center of the flower, for better comparison:

I tried two methods of sharpening. First the USM at what are commonly called "defog" settings. Amount — 20% Radius — 60 Threshold — 0

You can see a definite improvement in the sharpness in the 100% crop. But it is fairly subtle. Not bad, I can see myself using that.
Next I tried the High Pass Sharpen filter. I think I set it around 40. I could see a lot of improvement in sharpness especially in the texture of the petals, a bit too much around some parts of the image, so I erased parts of the layer so only the center part that I wanted in focus was impacted. Next time I need to play a little more with the settings on this. But I think you can see a big improvement in the sharpness of the image, with a little extra noise (maybe I need to run a noise reduction next), without it being oversharpened.

No comments:
Post a Comment