
If I am not letting the camera pick anything, how do I pick what settings I am going to use? I have a standard thought process that I work through to nail down my settings.
1.) Look at what I am trying to shoot and judge how much light there is, where am I, what lens am I using.
2.) Make a guess at where I think my ISO needs to be based on the light.
3.) Choose what aperture I want to use, do I want a shallow depth of field, what is my subject and how much of it do I want in focus, what focal length am I using and how close am I to my subject, how close is my subject from it's background. All of those things play into the depth of field.
4.) Make a guess what shutter speed I need based on speed of subject and focal length.
5.) Point camera at subject and half depress shutter to check in camera meter, does this read where I want it to based on the scene, adjust settings as needed if it is really far off.
6.) Take a test shot and review histogram to check exposure (this will be the topic of my next post).
7.) Adjust settings as needed based on histogram.
8.) Shoot, chimp every so often to make sure settings are still good if light is changing.
Lets go through those steps again with an example in mind to see if that makes things more clear. I will use some examples from when I was out shooting macros the other day.
1.) It was a bright sunny day out, lots of light, I was using my macro lens which is 100mm long (this plays into shutter speed) and there was a light breeze (this also plays into my shutter speed), I wanted to get a decent depth of field which means I needed to stop the lens down a bit and the first flowers I was shooting were white (don't want to blow out the whites).
2.) Start with ISO 200 because I need to stop down a bit, and I need a faster than normal shutter speed to freeze the motion caused by the breeze.
3.) This is macro work so my depth of field will appear shallower at the same aperture than portrait or landscape work because of the close focusing distance so I set it to f/5.0
4.) My lens is 100mm long so I want to have a shutter speed of at least 1/100, because it is windy I set it to 1/200
5.) When I metered off of the subject it showed up as 2 or more exposure values above 0 in the in camera meter. The resulting shot looked like:
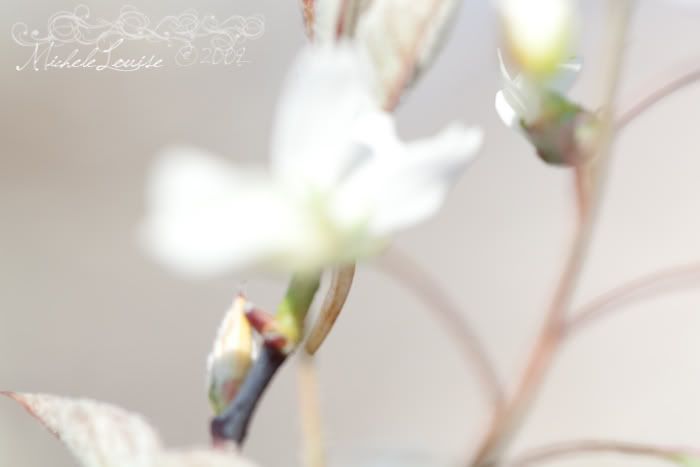
Then I adjusted my settings to ISO 100, f/7.1 SS 1/100 to lower the amount of light hitting my sensor.
6.) New shot:
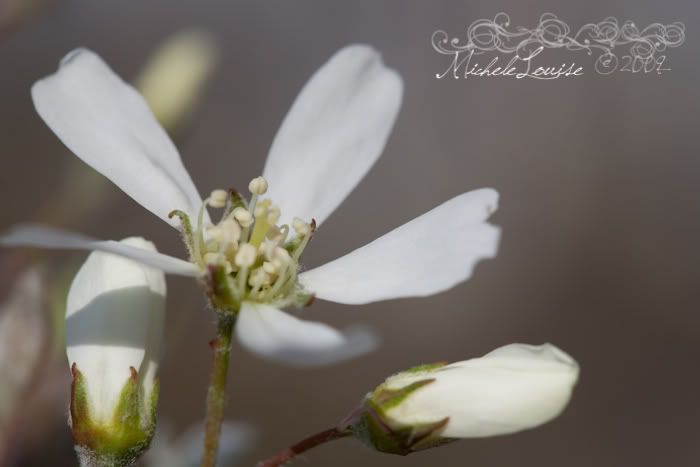
Looks good, no blown whites don't need to adjust based on histogram. So I am ready to shoot.
Now it is your turn, get out your manual and give manual shooting a try.
1 comment:
This is really helpful. I recently purchased my first d-slr, and I'm in the process of learning as much as I can. I previously had an advanced point-and-shoot, and I used some of the manual settings so I thought it would be an easy transition to the slr. Nope! Haha. It's not so bad, just trying to get a grasp on what settings should be used in certain situations so I don't need to spend 10 minutes getting set up before taking a shot. Anyway thanks for the helpful blog!
Post a Comment