
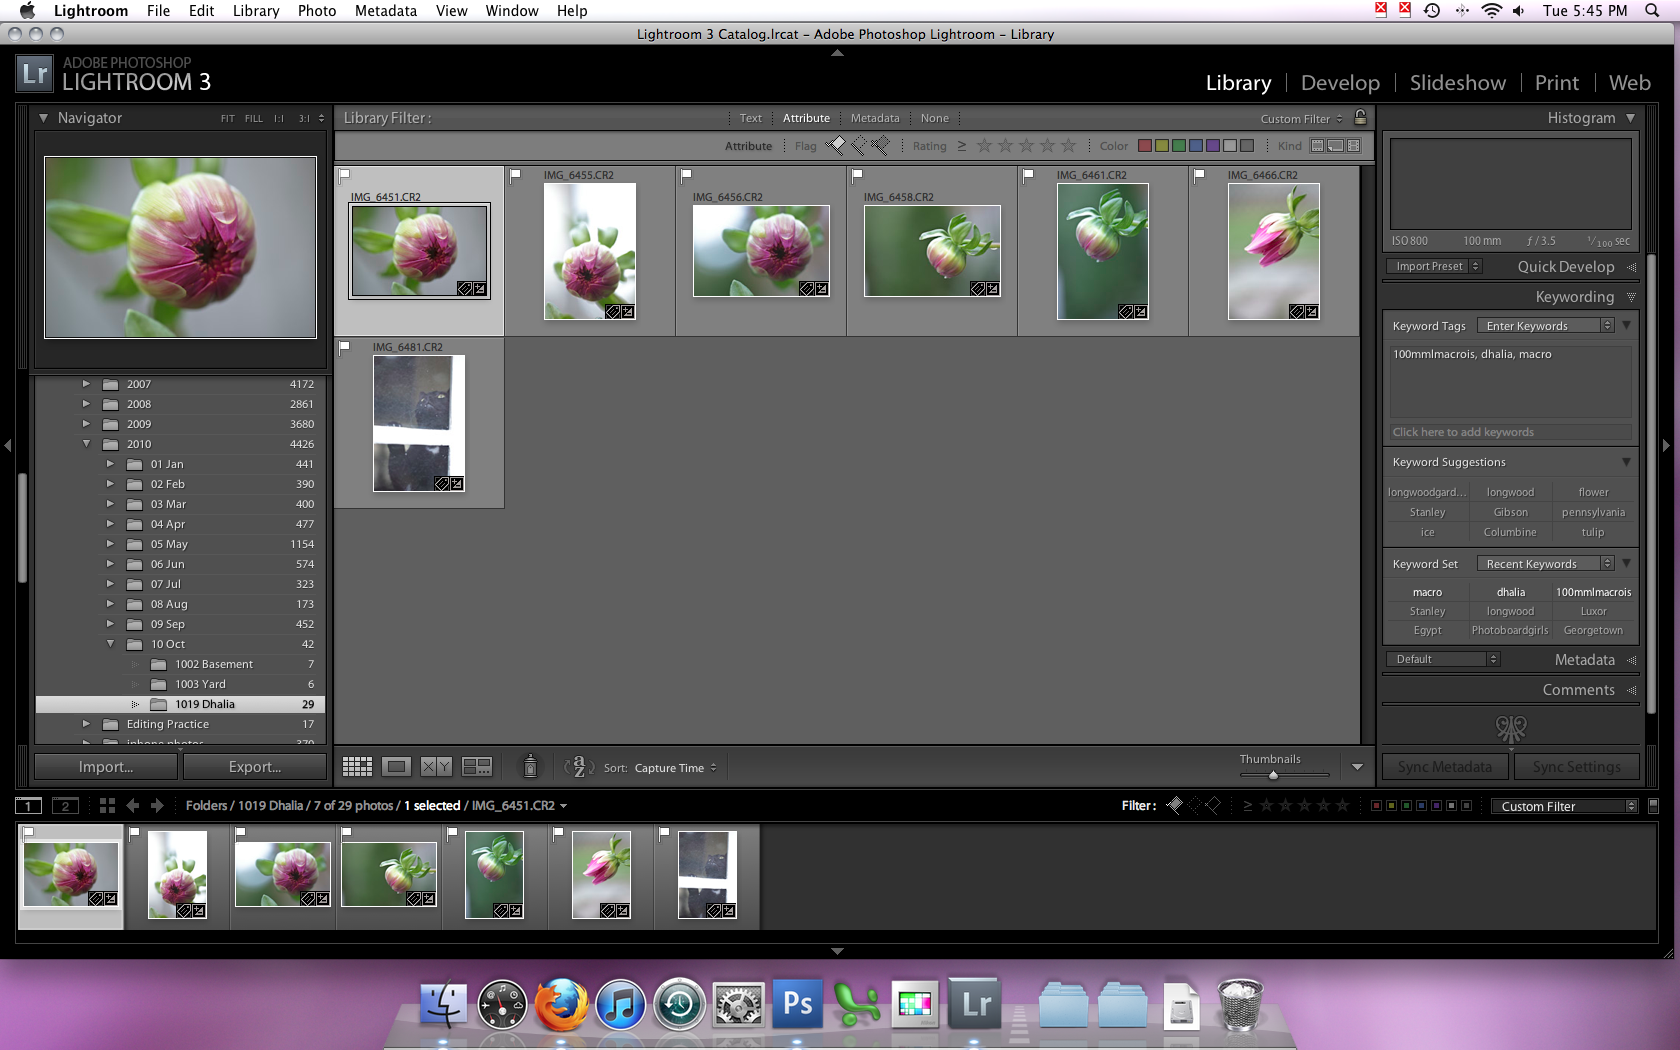
I start where I left off with the import/organizing workflow, with a group of picked images in a folder, though a different group.
(click for larger image)
Then we move over to the develop module where we can see the import preset settings already applied.

(click for larger image)
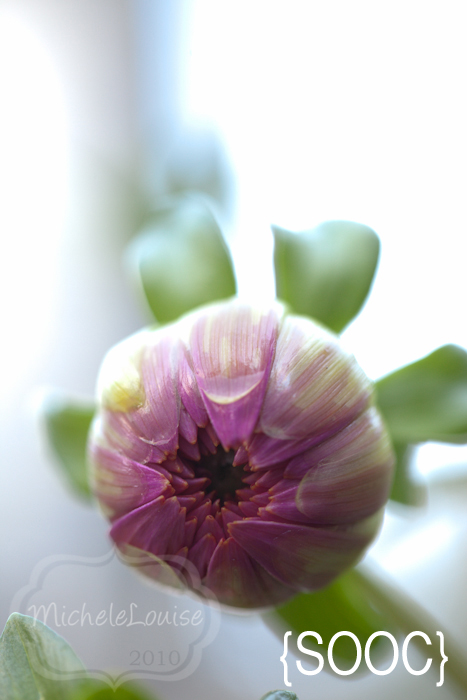
Looking at this image I can see that it is a little cool, needs a white balance adjustment and it also is a little blown out in spots. I changed the white balance to cloudy (Temp from 6350 to 6500 and tint from +14 to +10). To deal with the blown areas I pulled up the recovery slider to +20, I pull it up to where I stop to see any recovery in the important areas (here on the flower) and then I pull it back just a bit. You can see in the image blow all that is blown now is the background. I pulled up the blacks to +10 and increased the brightness from +25 to +35 so it didn't look so flat. Since this is a flower and I wanted it to be a little colorful I also pulled the vibrance up to +20 (note that I never use the saturation slider, it is too heavy handed for how I like to edit, but I am sure it works for some people.
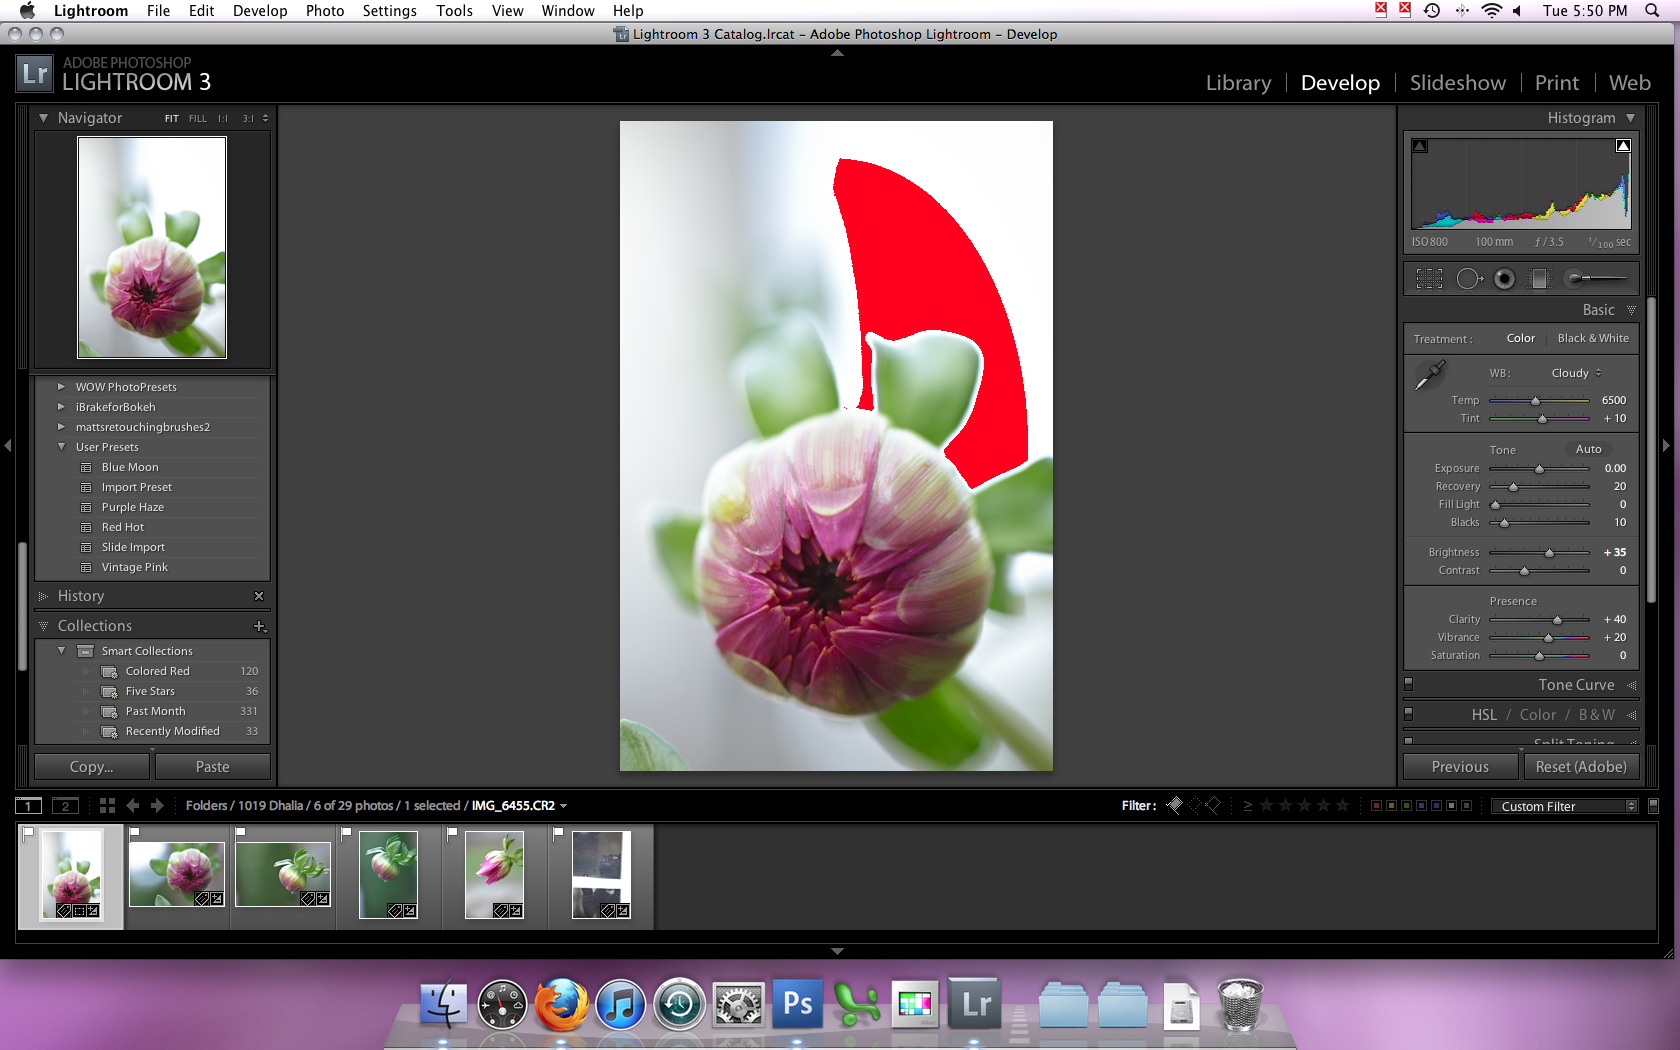
After that I thought it still looked a bit flat so I played around with the tone curve a little bit. Mainly I pulled down the left part of the curve just a bit to darken the shadows even more.

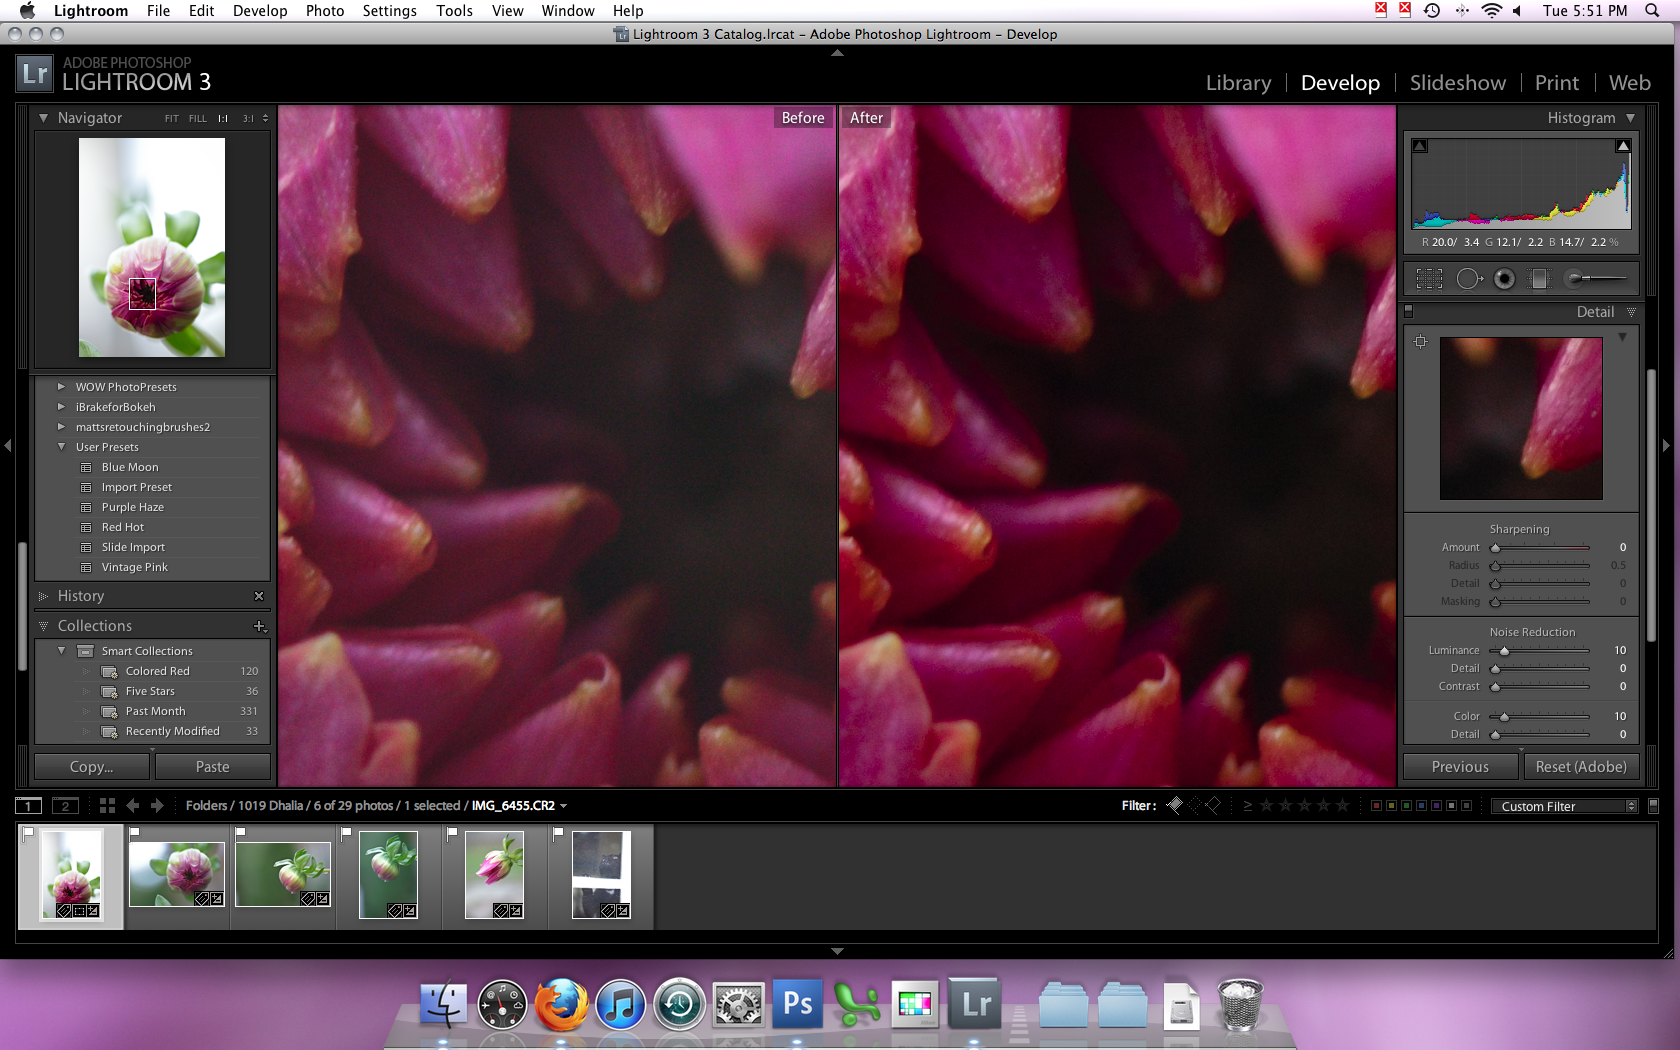
Next since I shot this at ISO 800 I needed to do a little bit of noise reduction just to clean up the images. I set the lumiance to +10 and the color to +10 as well. I start with the color slider and move it until nearly all of it is gone, and then I back off a little bit, I don't want it over-smooth, then I repeat with the luminance slider. Since 10 is a pretty low number for both of these I didn't use the other sliders to add back in detail at all.
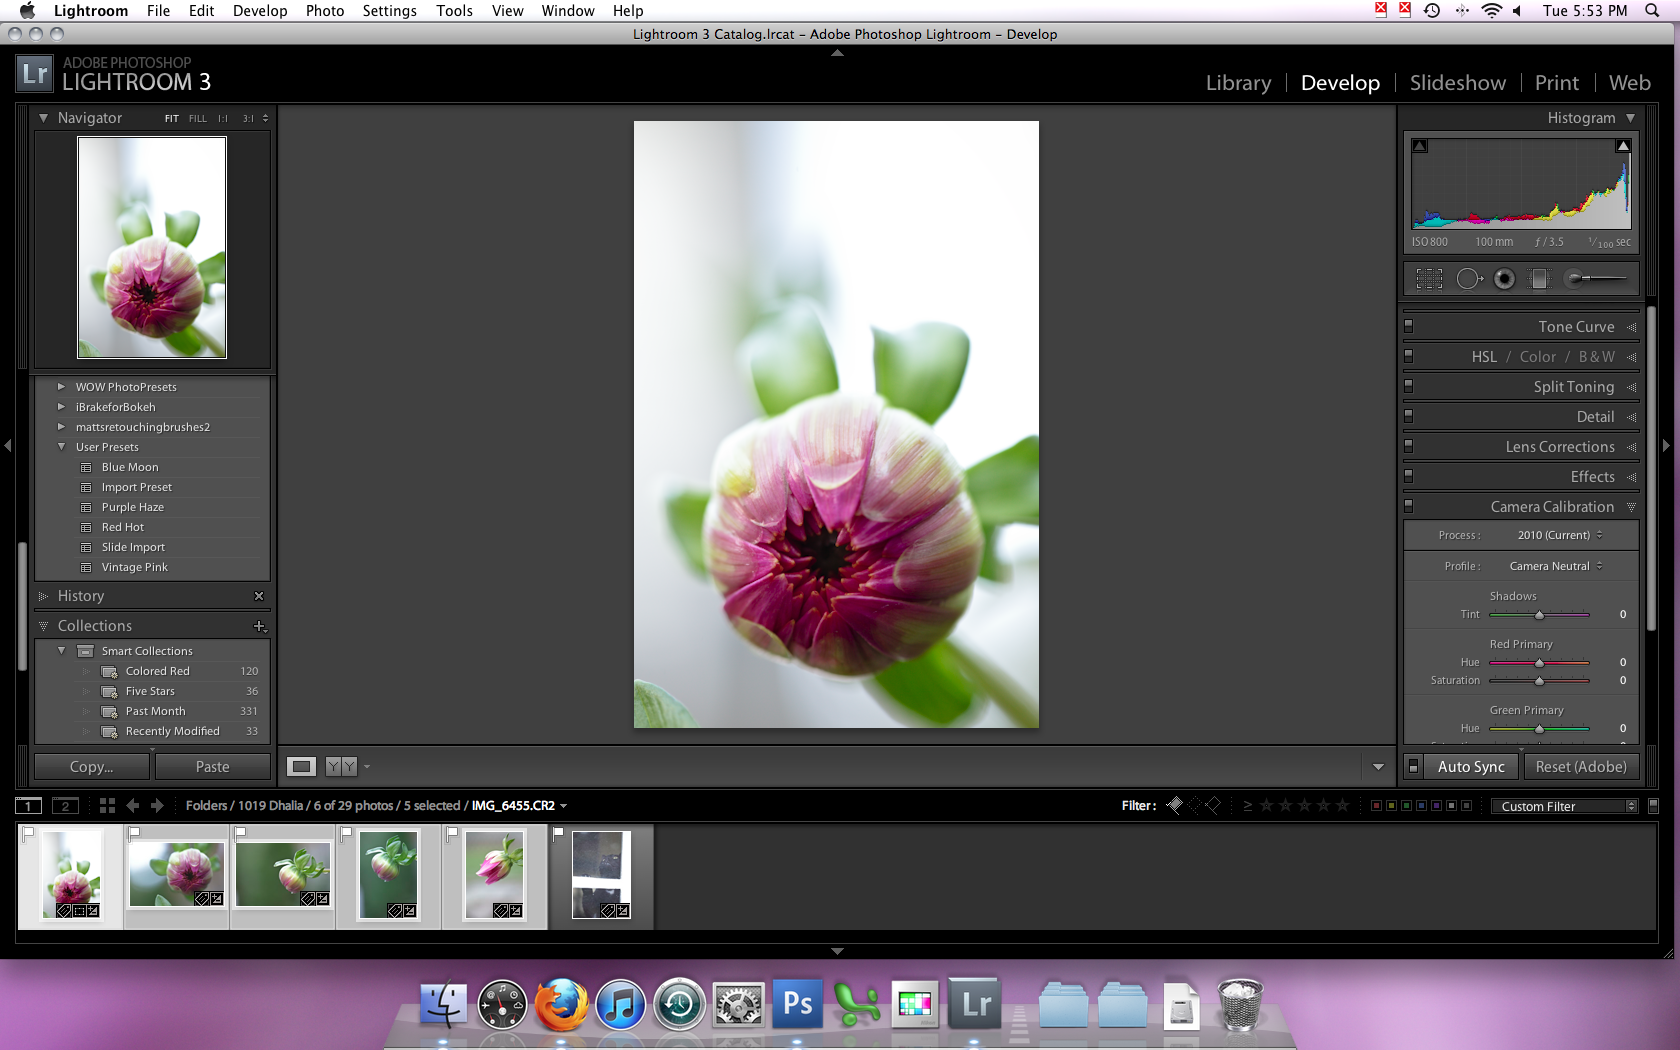
Once I am happy with this image, since these are all pretty much the same I sync my edits.
To see how little editing it really is, let's compare a true SOOC image (with even my import preset settings removed other than the camera profile).
to my final edit
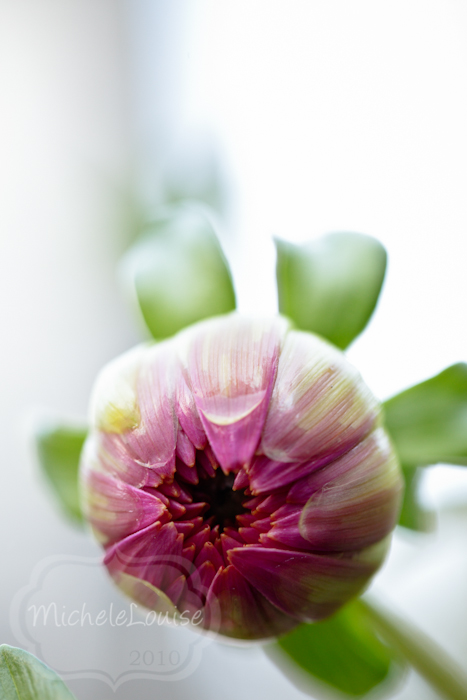
You can see that really it doesn't look a lot different, just a little more polished. Some images require a bit more work that this, and some I edit more just for fun. I will cover that in a future post.
2 comments:
Love it! It's great seeing how others use Lightroom, thanks for sharing. =D
great tips - off to find older ones!
Post a Comment