Showing posts with label OCF. Show all posts

11.15.2011

In Other Very Belated News

This is over four months behind in news but I just got around to taking photos of it a couple weeks ago. I have wanted a 35mm film camera for a while. My Dad (camera purveyor extraordinaire around here) found me one as a birthday gift.

20111017-IMG_9077

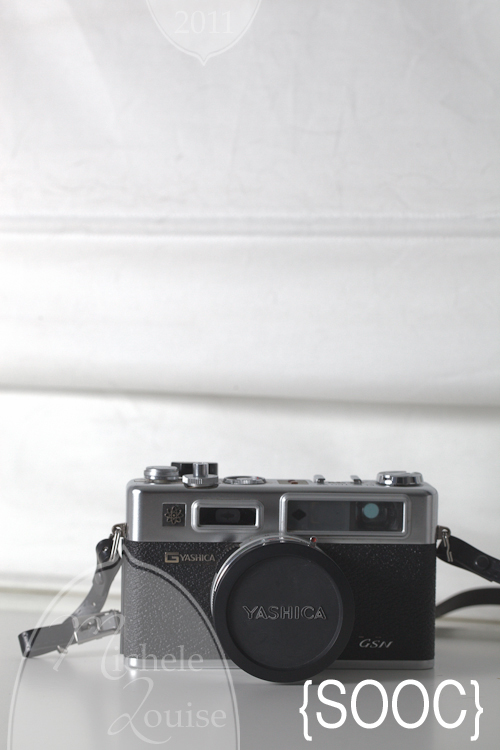
It's a Yashica Electro GSN. It seems like it is in great working order, but I need to retrofit a battery for it. I can't wait to get out and use it! I am pretty sure it is going to Thailand with me with some black and white film in it. All of this is just giving me more incentive to learn how to develop my own film.

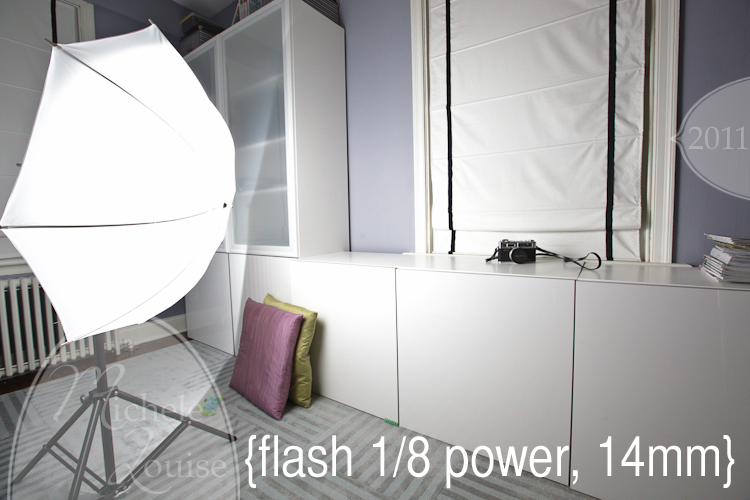
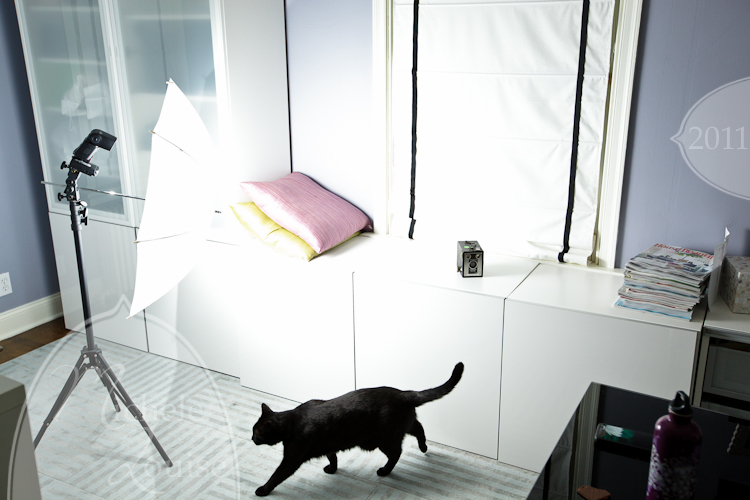
The setup for the above photo was similar ot what I have shared before:
20111017-IMG_9078

There was a fair bit of dodging as well, this was my SOOC
20111017-IMG_9077-2

5.25.2011

My Brownies

My parent's went to a development garage sale on Saturday and my Dad was nice enough to pick up a couple of things for me!

20110523-IMG_8558
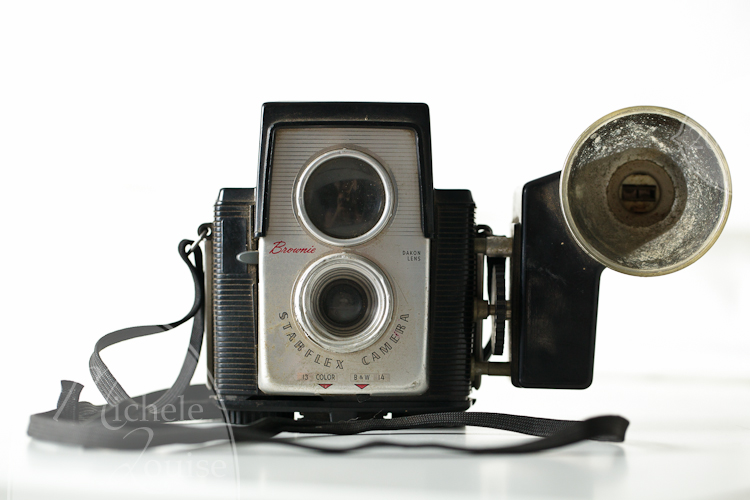
Kodak Brownie Starflex (it takes 127 film which I need to do some more research on, and I am not sure if this one works, but at the worst I can use it as a TTV camera)

20110523-IMG_8560
Kodak Brownie Junior Six-16, this takes 616 film, but I can make 120 work (it just isn't as wide and would need to be respooled), or 70mm film with some modifications I think, the shutter works, the lens just needs maybe some cleaning and the viewfinder mirrors need to be reglued.

20110523-IMG_8562
Kodak Brownie Target Six-16, similar situation to the above.

20110523-IMG_8563
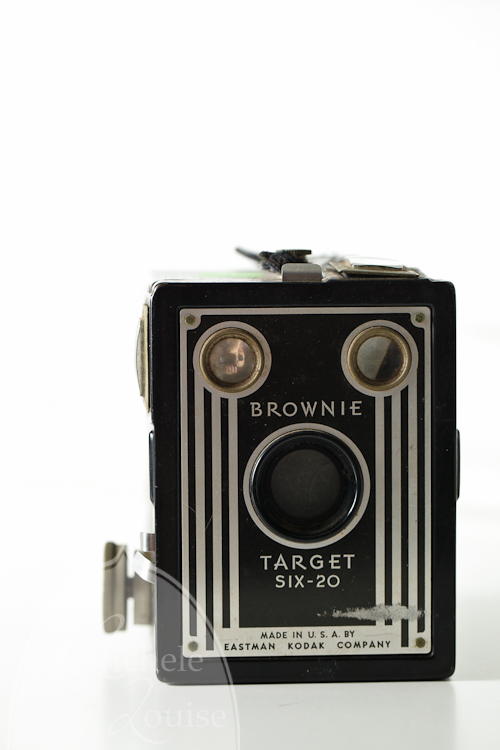
Kodak Brownie Target Six-20. This one takes 620 film, which is the same as 120 film just on a different sized spool, it just has to be re-rolled in a dark room.

I am really excited to clean them up a bit and get some film in them! The box cameras all only have 1 shutter speed other than bulb, and 2 aperture settings (approximately f/16 and f/11). Dad only paid $18 for all four of them, which I think is a steal!

I was really happy with how these "product photos came out. My Ikea cabinet made a nice glossy surface and my white roman shades made a good backdrop, at least once I threw in the OCF.

20110523-IMG_8566
There are notes if you go to flickr.

5.24.2011

OCF Experiment: Flash Distance

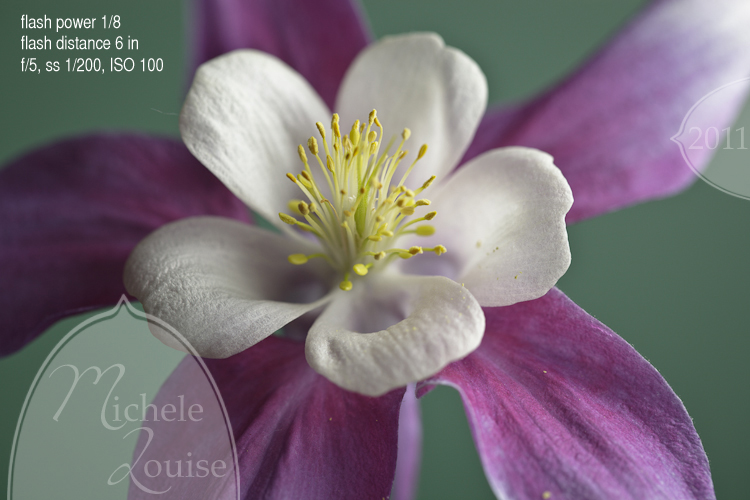
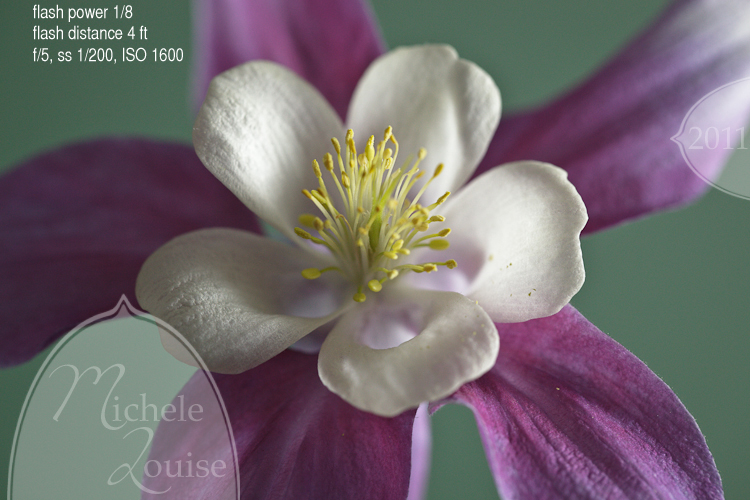
For macros I assume that keeping the flash close to my subject would be better since the light source would be larger. I did an experiment to put it to the test.

20110513-IMG_8427

20110513-IMG_8441

I think it is definitely better for getting a softer more even light.

5.16.2011

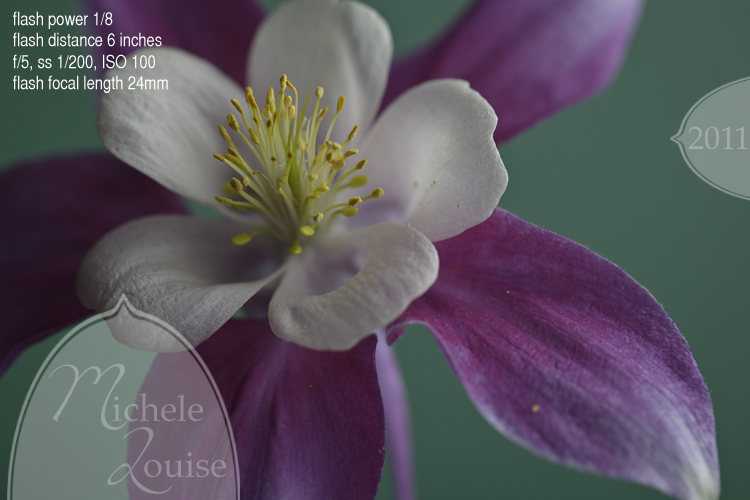
OCF Experiment: Flash Focal Length Setting

I did a few OCF experiments over the weekend just trying to wrap my head around the basics of it, especially for macros since most of the information readily available on the web is more directed at portraits. This was actually my second experiment after looking at the results of my first but it's easier to explain, and well I am short on time tonight.

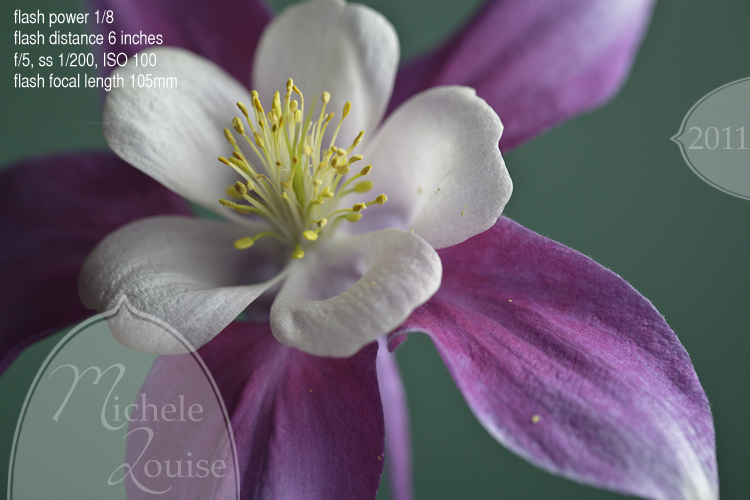
I set up my 430 EX on my flash stand, with my pocket wizards and shoot through umbrella. I kept all my settings the same except the focal length setting on the flash, so the power was the same, the distance (6" from center of flower to tip of umbrella), the angle etc. The ambient light was the same (none since it was night time, yes I used a flash light to adjust the settings), as were my camera settings, ISO, aperture, SS, lens, focus, I had the camera on a tripod and used my cable release to trigger the shutter. The flash was directly to the camera right side of the flower.

You can scroll through the examples in this flickr set (along with my other experiments that I haven't written up yet) in the flickr set here I took a photo at each focal length setting for the flash.

Just to show to show a more drastic difference, here is the longest setting:
20110513-IMG_8444

and the shortest:
20110513-IMG_8450

If I brought the exposure up in the 24mm one to match the 105mm one, it was almost a full stop underexposed. When I did my first experiment I wondered why the flash power wasn't falling off as quickly as I expected and I think this was why, I had it set to 105mm so I think it was making a more concentrated beam of light.

All these new aspects to work with are kind of blowing my mind.

5.13.2011

OCF Setup

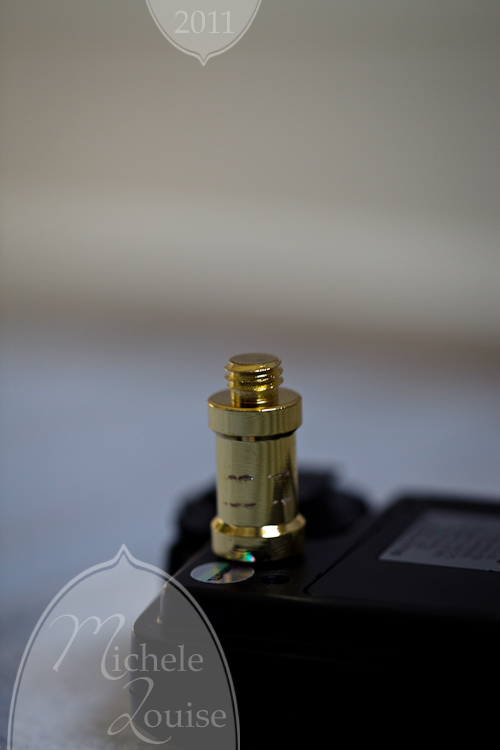
Now that we have covered the gear I used for my OCF experiments we can review how I set it all up. Only one part of it was tricky. I started by trying to put the hotshoe part of my PW receiver on the hotshoe, that was proving to be really unstable so I screwed this gold piece into the tripod screw mount on the PW instead

20110511-IMG_8407

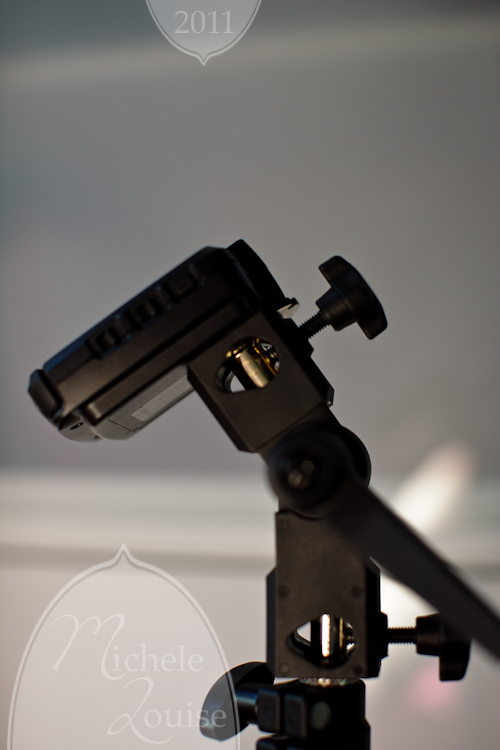
Then I placed the gold piece down into the bracket and screwed a nut tight to hold that in.
20110511-IMG_8414

20110511-IMG_8415

That was much more stable.

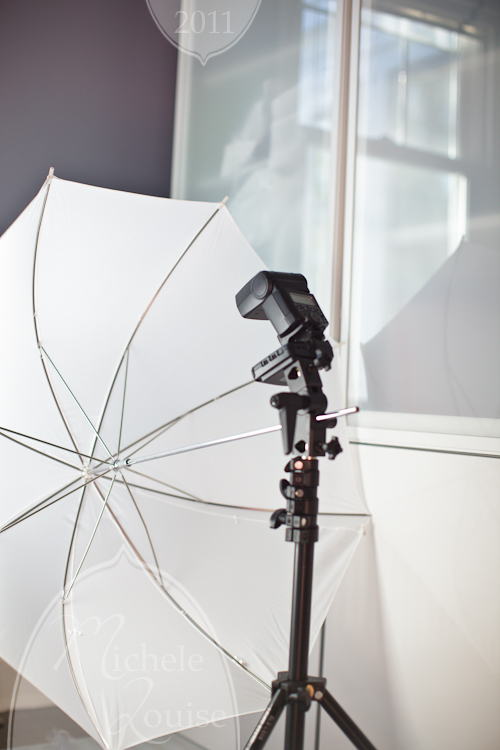
Then I just added the umbrella and it was ready to go!
20110511-IMG_8418

5.11.2011

OCF Gear

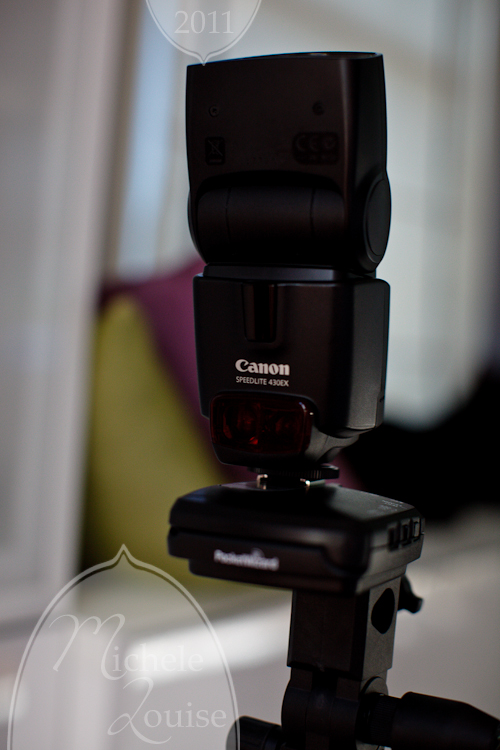
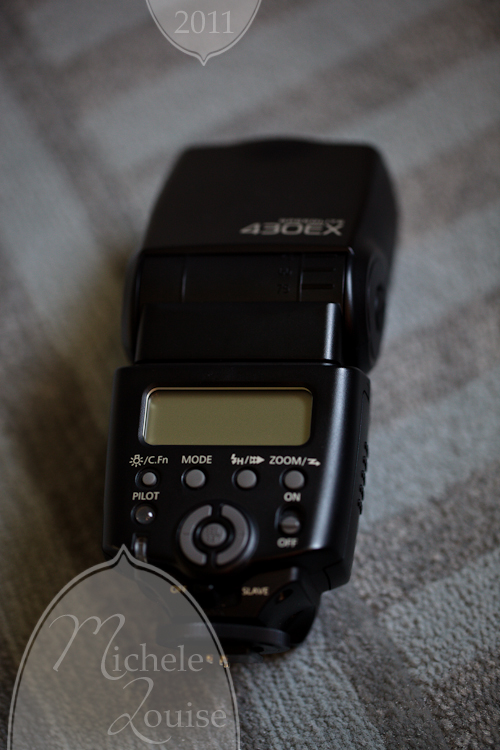
A week or two ago I did a post on my first off camera flash experiment and I failed to go over what gear I was using. First item of course is my 5D mark ii. Then I need a flash, I have the Canon 430 EX (not the II), if you wanted to buy one now I would get the 430EX II Speedlite.

20110511-IMG_8406

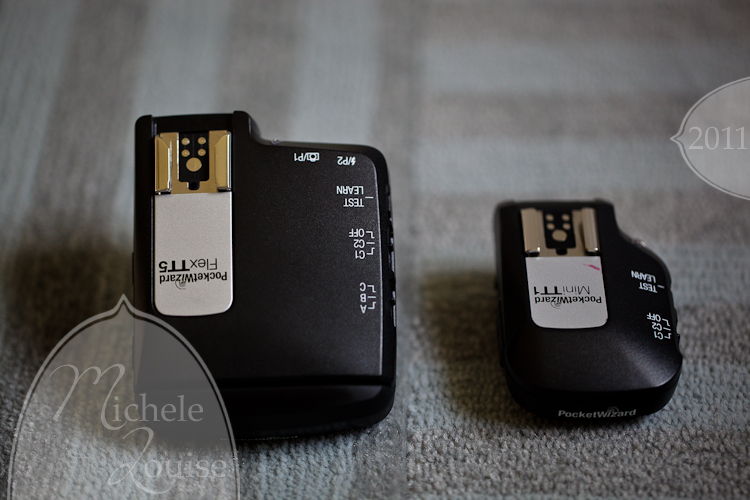
Next I need triggers to tell the flash to fire, mine are pocket wizards.
20110511-IMG_8405
I have the PocketWizard MiniTT1 Radio Slave Transmitter for Canon (on the right) and the FlexTT5 Transceiver Radio Slave for Canon E-TTL II System on the left.

Then I need a light stand, flash bracket and umbrella. I have the following

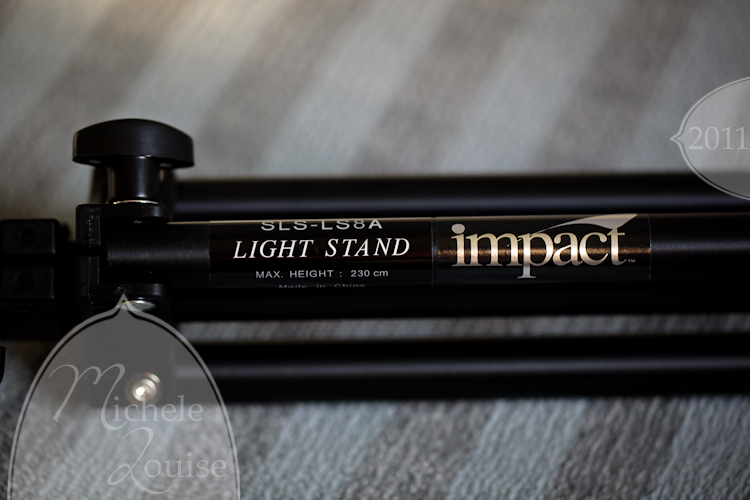
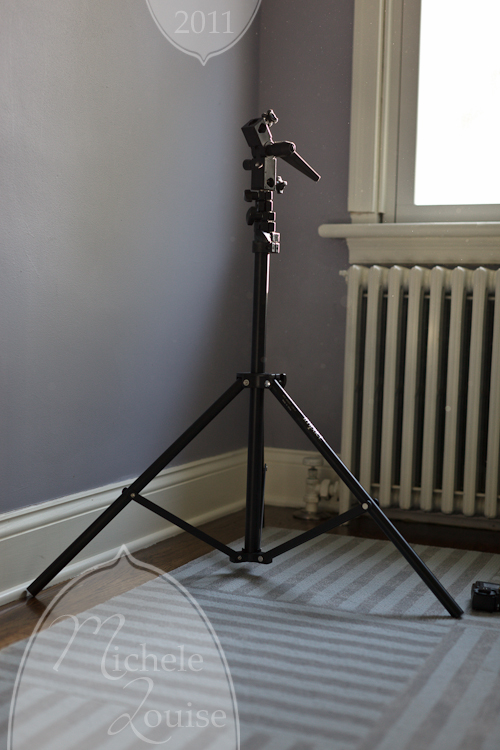
Impact Air-cushioned Light Stand (Black, 8')
20110511-IMG_8408

20110511-IMG_8413

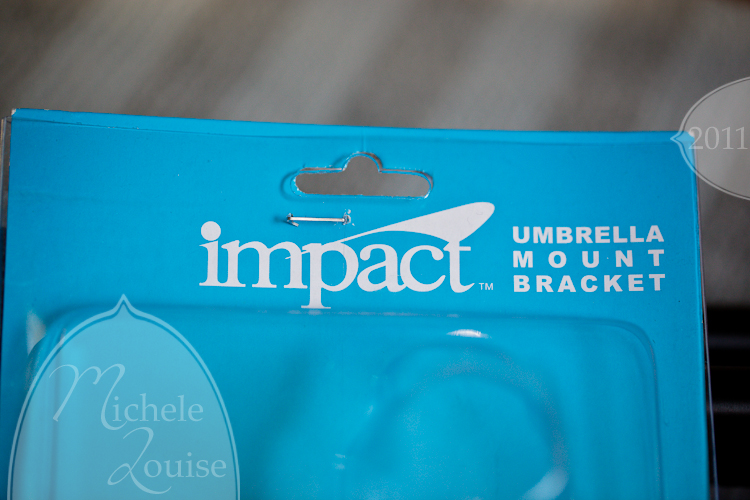
Impact Umbrella Bracket
20110511-IMG_8410

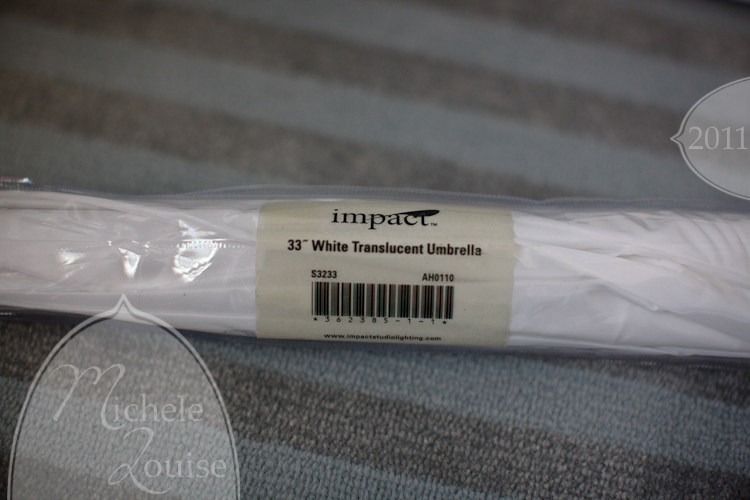
Impact Umbrella - White Translucent (33")
20110511-IMG_8417

Other than the body, flash and pocket wizards, not an expensive set up.

5.02.2011

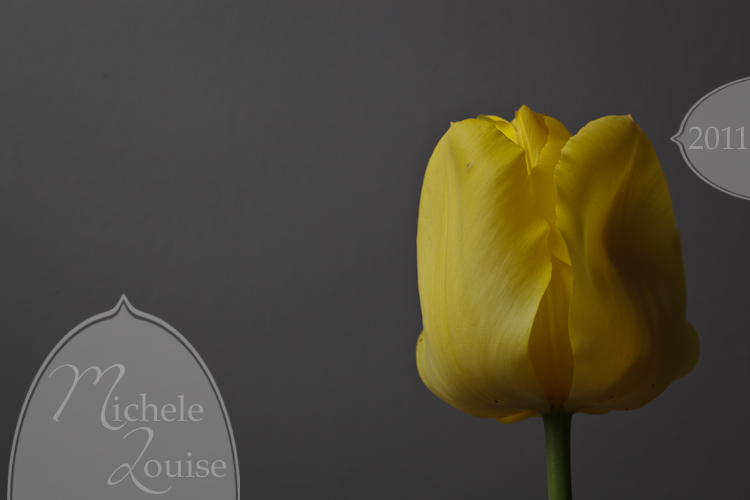
OCF Experiment 1: Yellow Tulip

My friends Jodi and Jenn have been inspiring me with their dedication to learning off camera flash (OCF) and the other night I was sitting on the couch bored of watching Mike play video games and I though "hey why don't I finally break out that OCF gear that is collecting dust and start trying to learn it".

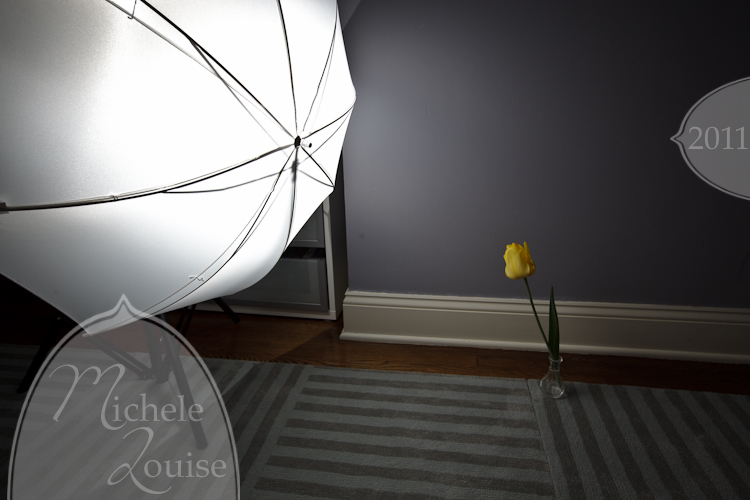
My first experiment was pretty simple, it took me more time to figure out how I wanted to set up the light stand, bracket, umbrella etc and yell at the cats than it did to actually shoot. My final set up ended up like this

20110429-IMG_8246

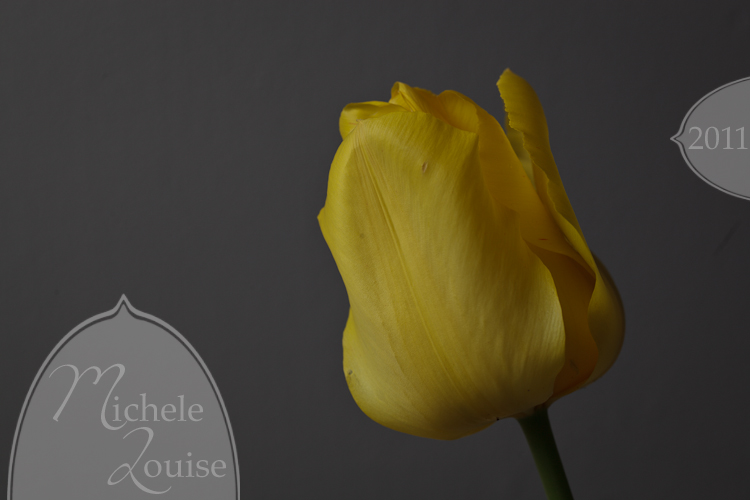
And the resulting image

20110429-IMG_8245

My favorite from the night was very similar, just a slight rotation of the flower, this is SOOC other than some dust removal, so it could have been brighter. I apparently need to work on that part of OCF.

20110429-IMG_8243

It was actually much easier than I thought it was going to be, and the umbrella made the light much better than my earlier attempts with just my omni-bounce so I think I am on the right path.

LinkWithin

Related Posts Plugin for WordPress, Blogger...