Showing posts with label beforeandafter. Show all posts

5.03.2010

Before and After Monday: Bellflower

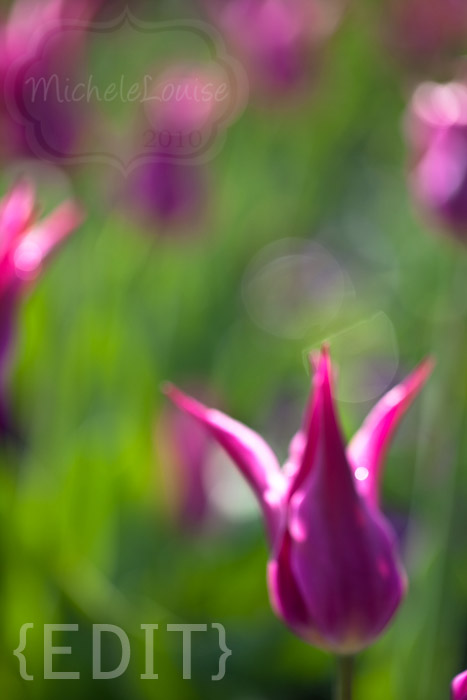
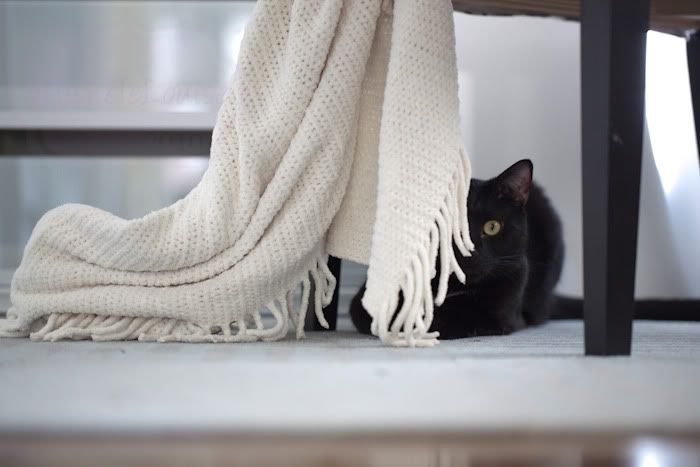
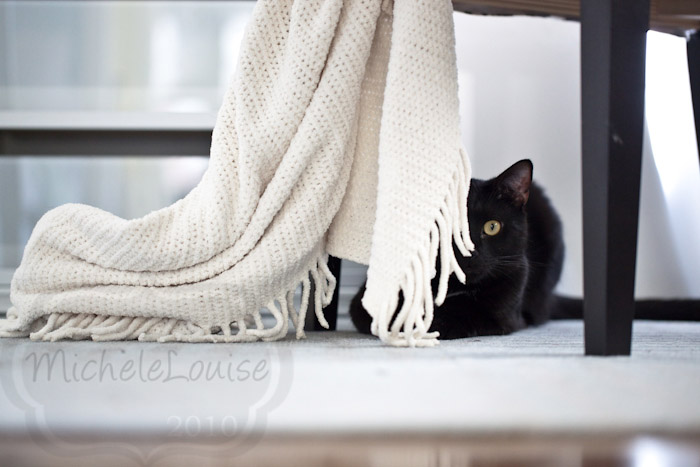
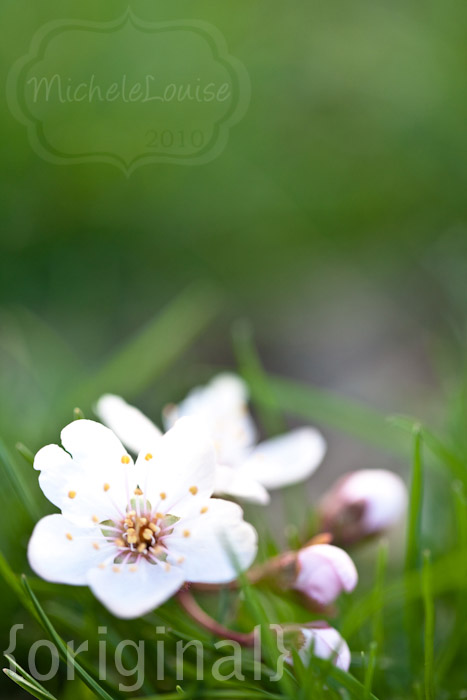
This shot from Longwood was a bit underexposed, along with bringing up the exposure I also had to being in addtional contrast.


My LR edits were +.33 exposure, +14 blacks, +50 brightness, +40 clarity, +14 hightlights, -9 shadows and a medium contrast point curve

4.26.2010

Before and After Monday: Columbine

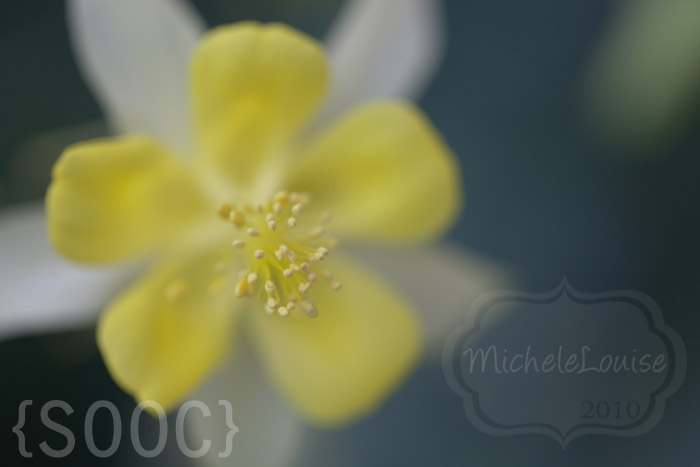
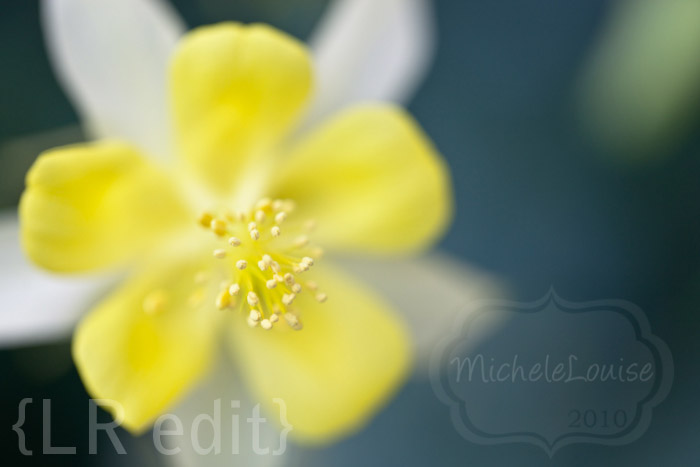
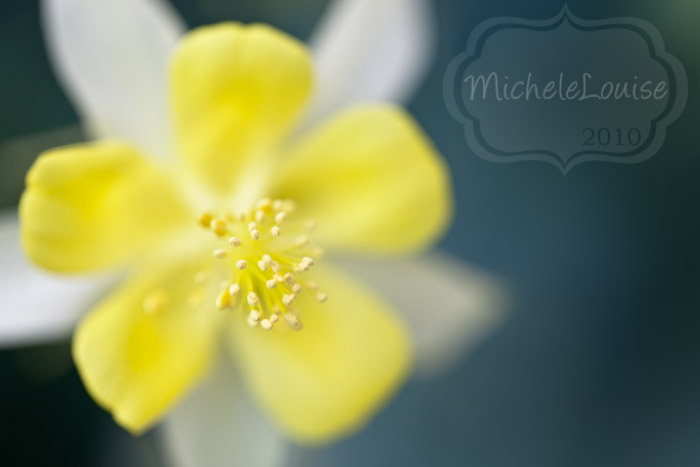
One of my new favorite flowers based on my trip to Longwood last week is the Columbine. It has an amazing shape, and several layers of interest which is something I love to find in a flower to photograph. One of the images I made of it screamed out for a little editing beyond lightroom.

I started with this:
IMG_3575-2
a little underexposed

LR gave me this:
IMG_3575-3

Then I took it into PS CS3 for a little bit of cloning/healing and ended up with:
IMG_3575

4.19.2010

Before and After Monday: Blur

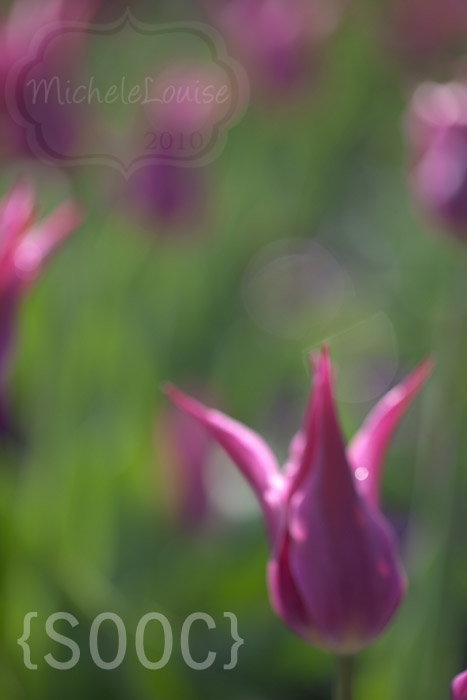
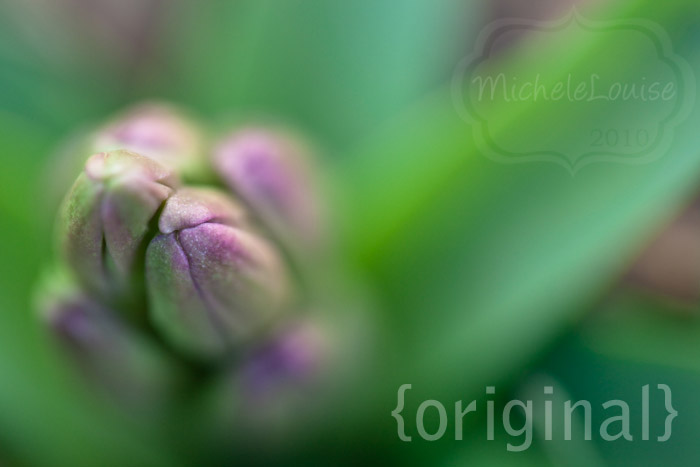
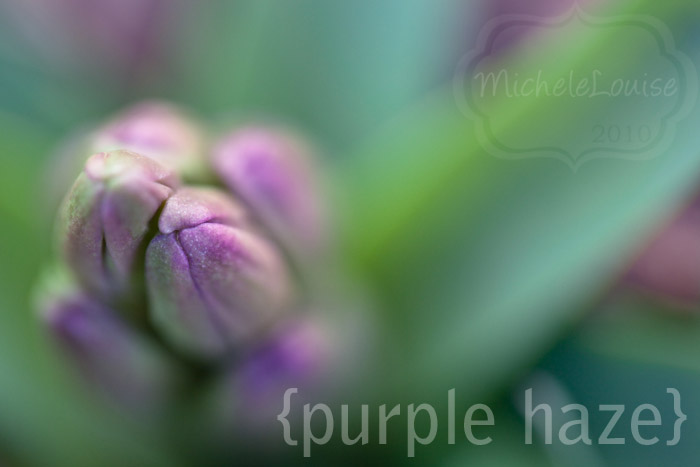
This shot was a bit of an accident this weekend at Longwood Gardens, but I loved it when I saw it come up in LR. I thought since it was already a bit different I could go a little farther in the processing.

IMG_3444-2

IMG_3444

LR Edit Details:
WB as shot
Brightness +25
Clarity +40
Vibrance +10
Saturation +5
Tone Curve
Highlights +43
Darks -9
Shadows -9
Point Curve: Strong Contrast

What do you think? Too much?

4.12.2010

Before and After Monday:Import Preset

Upon importing all my images into LR I apply an import preset that I created. Honestly for a lot of my images it is all the editing that they need. Having this preset has saved me so much editing time, I strongly suggest that if you use lightroom that you create one for yourself.

Here is the before.


And the after:
IMG_3166

It's important to develop one that works with how you usually shoot but the basic settings for mine are +25 brightness, +40 clarity, +14 highlights, -9 shadows, medium contrast point curve. Not a lot, but just enough to add a little contrast and sharpness.

4.05.2010

Before and After Monday: Potential Presets

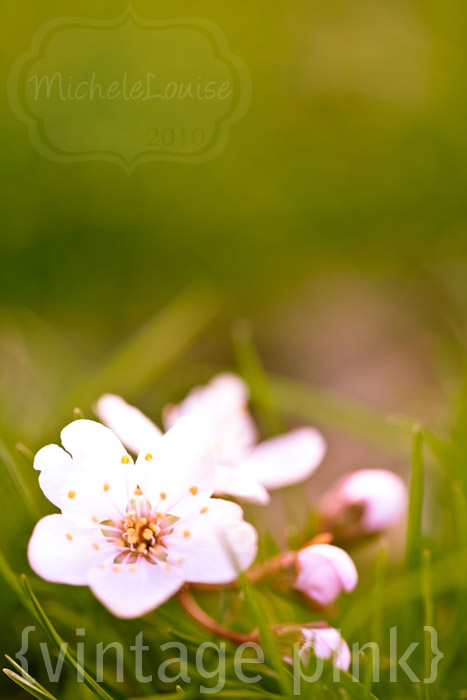
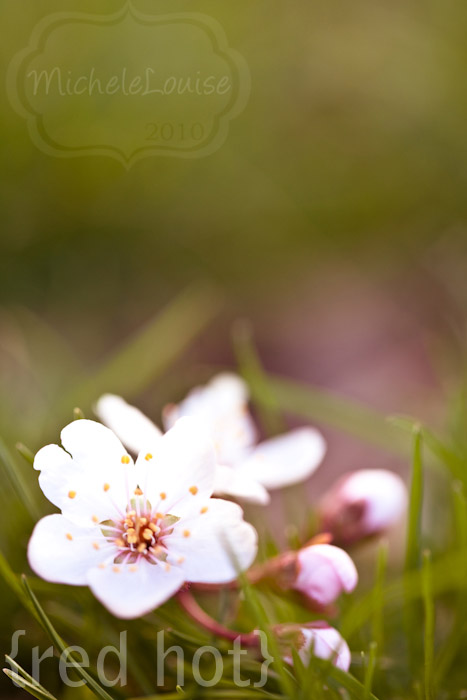
It's only the second week in and already I want to try something a little different. I have been toying with making some presets for myself using the split toning part of lightroom. They don't work on all my images (and I really am only intending them for macros anyway) but I wanted to see if anyone else thought they looked good.

I realize the white flower is a little blown in these, but I noticed that after I exporting, labeled and uploaded into flickr. It was an easy fix with the recovery slider in LR once I noticed it.

IMG_3210

IMG_3210-3

IMG_3210-2

And a different image with 2 other presets
IMG_3189

IMG_3189-3

IMG_3189-2

3.29.2010

Before and After Monday: Orchid

I am not great at coming up with cute rhyming names like Mine on Monday or Ten on Tuesday or Wordless Wednesday (I am very jealous of the people who are by the way) but I wanted to start some recurring photography features on my blog. I have been doing the Tips for a while, and I plan to keep doing those (hopefully on a more regular basis) but I had ideas for some other posts as well. This is the first in what I hope will be a weekly if I can keep up with it feature of before and after edits of images. All done in Lightroom (which is my favorite editing program).

There is a dual benefit here in my mind, you get to see not only how I edit (I will post the settings I editing up using for the image) but also how my SOOC shots look. I am always curious how much editing other people do. You will find that generally I don't do a lot, but sometimes I do more than others.

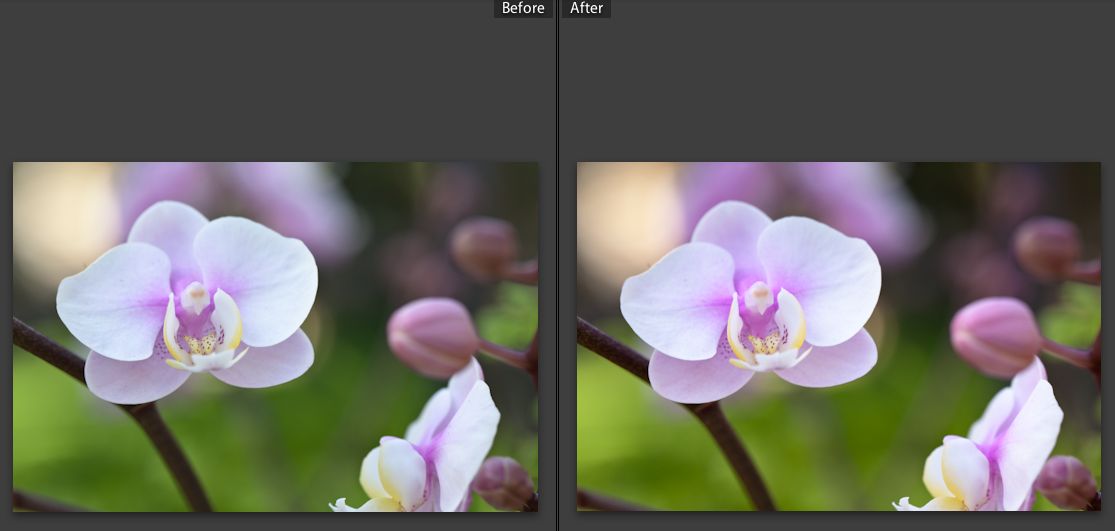
On to the first image. This is one of my orchid shots from Longwood at the beginning of this month. 5D mark ii, 100mm L macro lens, ISO 400, f/5, ss 1/100

Click for larger

My edits in LR here were pretty minimal, I adjust the white balance a little to warm it up, upped the exposure 0.25 to brighten, pulled the blacks up to 7, added 25 brightness 26 clarity and 17 vibrance. The Tone curve I added +14 highlights and -9 shadows, set the point curve to medium contrast. I added some sharpening under the detail tab, amount 39, radius 1 detail 37 and a little noise reduction luminance 35 color 100. That is it. It sounds like a lot when all typed out but it really takes very little time at all.

Comment if you have any ideas for either photos you would like to see a before and after of or if you find this interesting at all.

LinkWithin

Related Posts Plugin for WordPress, Blogger...